
My So Charmed Life
Texturizing Clay Surfaces
03.30.13
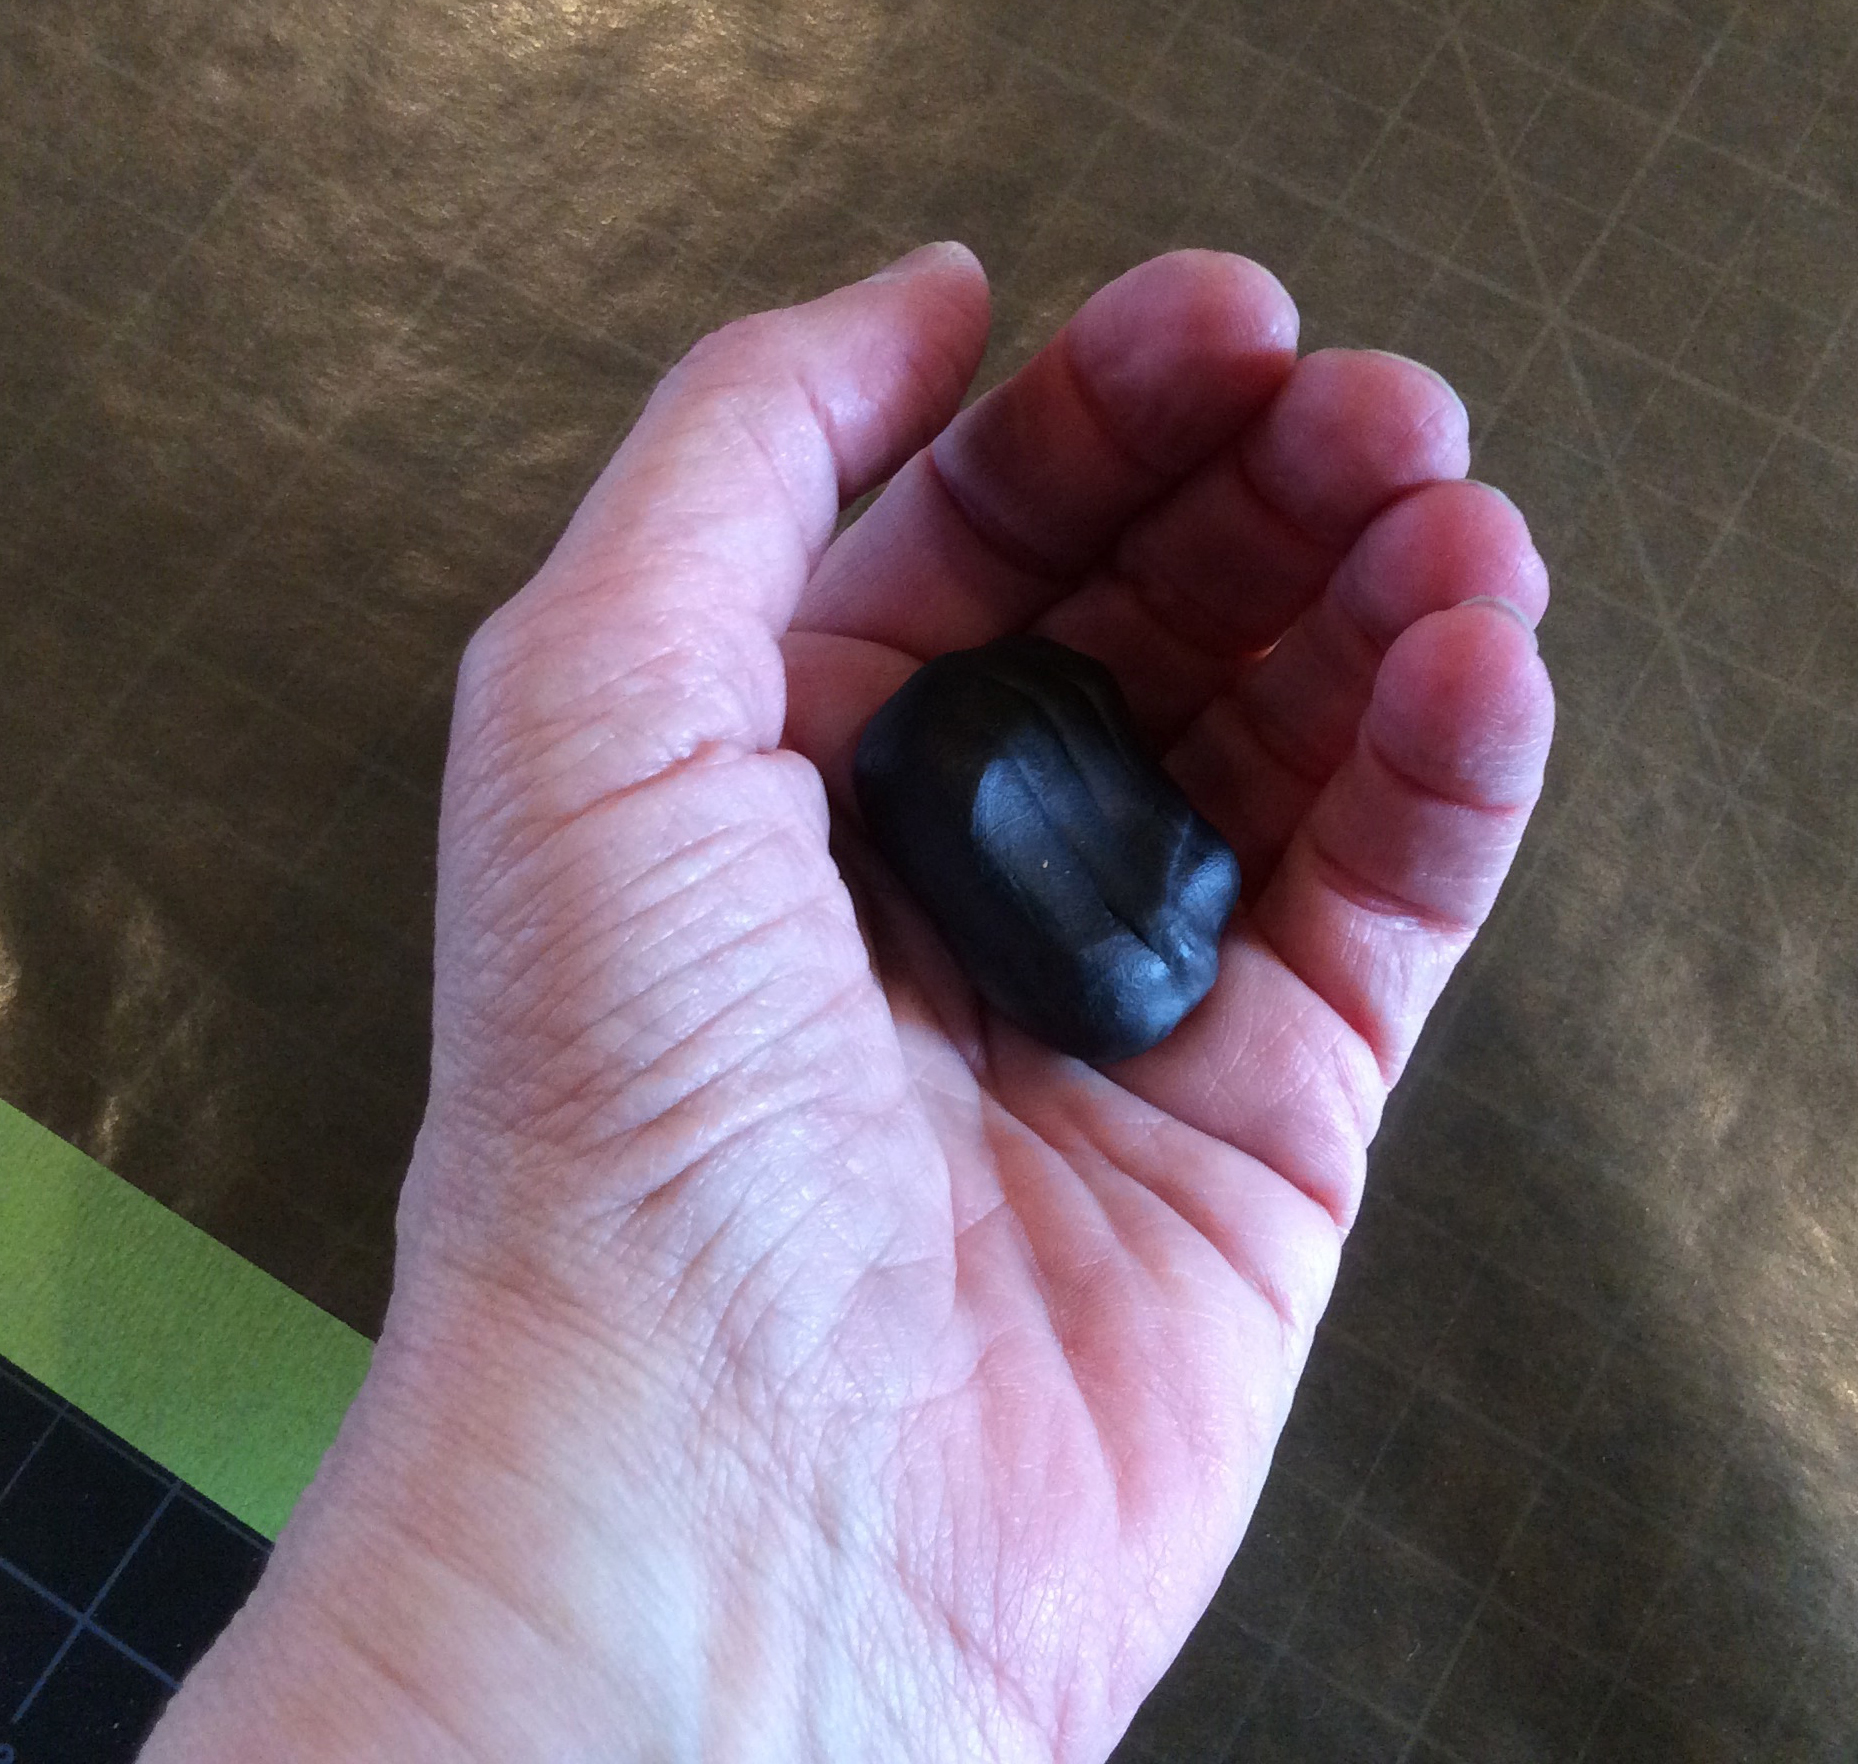
Really immersing myself in working with clay again; learning so much from scouring the internet, but also by fearless experimentation. A recent lesson: One of the addictions of clay is an undeniable therapeutic benefit to holding something squishy in one’s hands, something that softens with one’s own body heat, something that starts out as an ugly lump and becomes anything and everything!
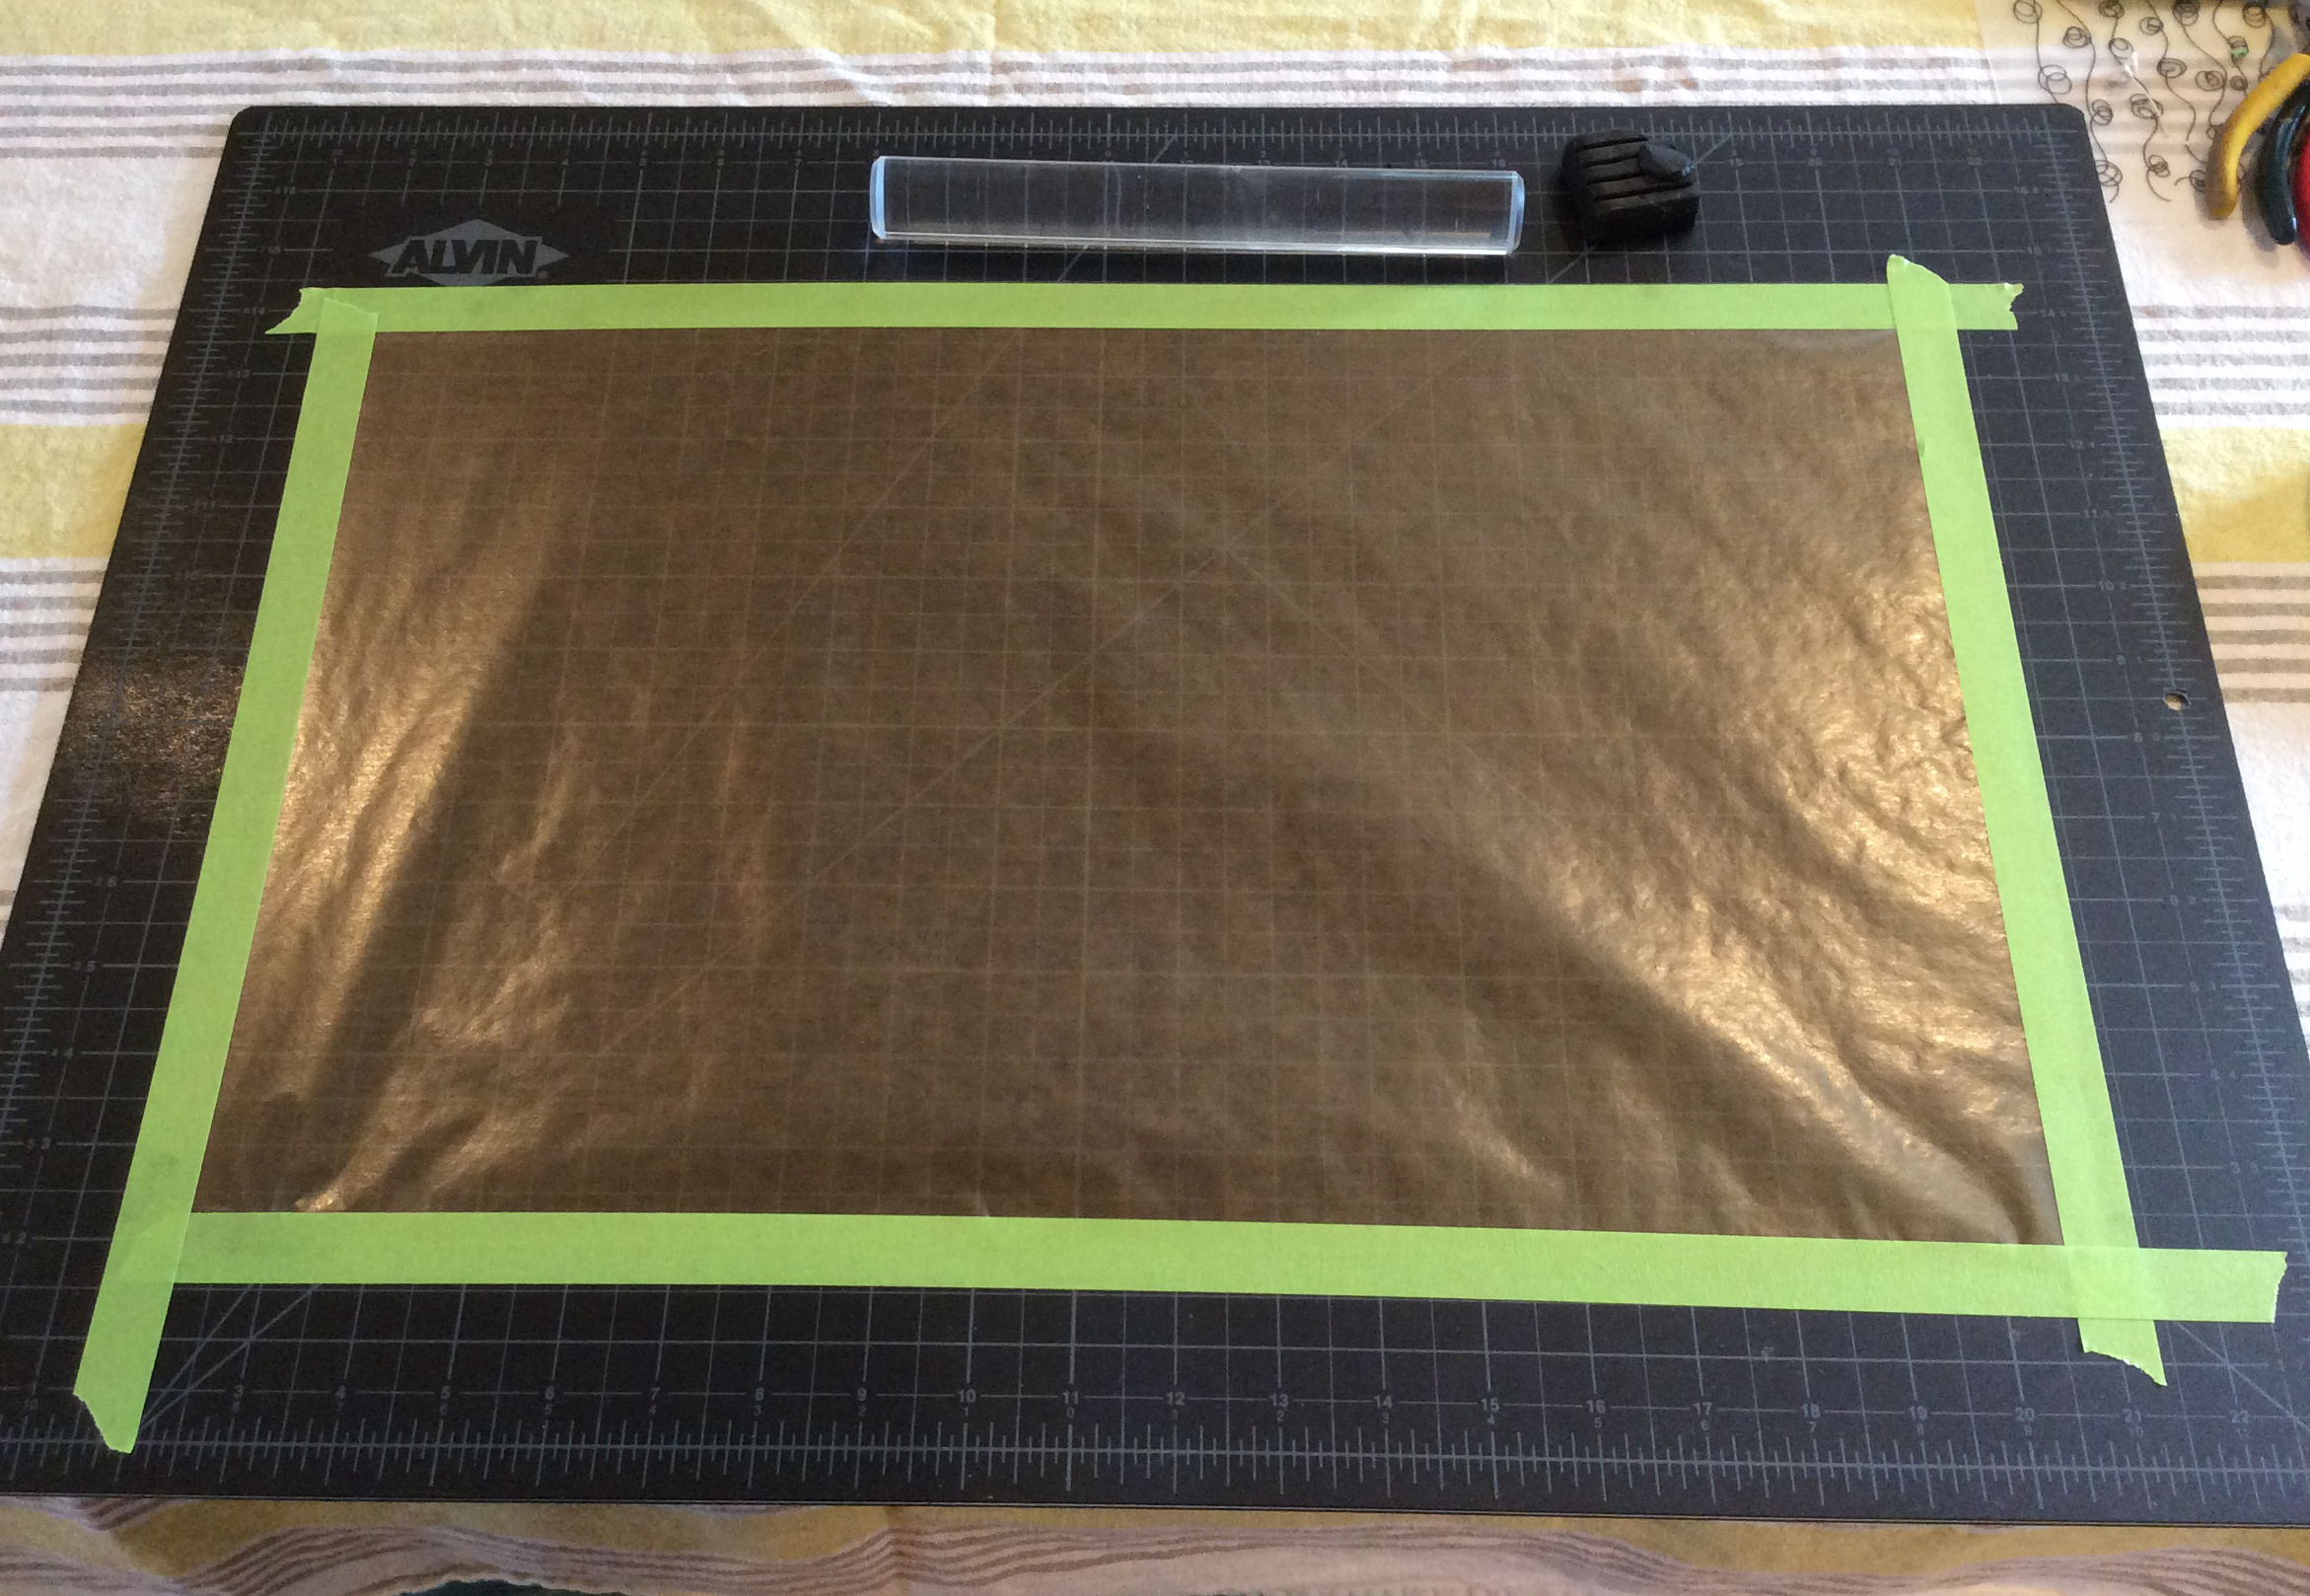
Less exciting things to learn include making due with available supplies such as taping a piece of wax paper to the cutting board I primarily use for sewing. This makes an excellent clay rolling surface, won’t break (like the piece of glass I shattered prior to this discovery) and can be tossed out and resurfaced when it gets too dirty. Simple, but effective.
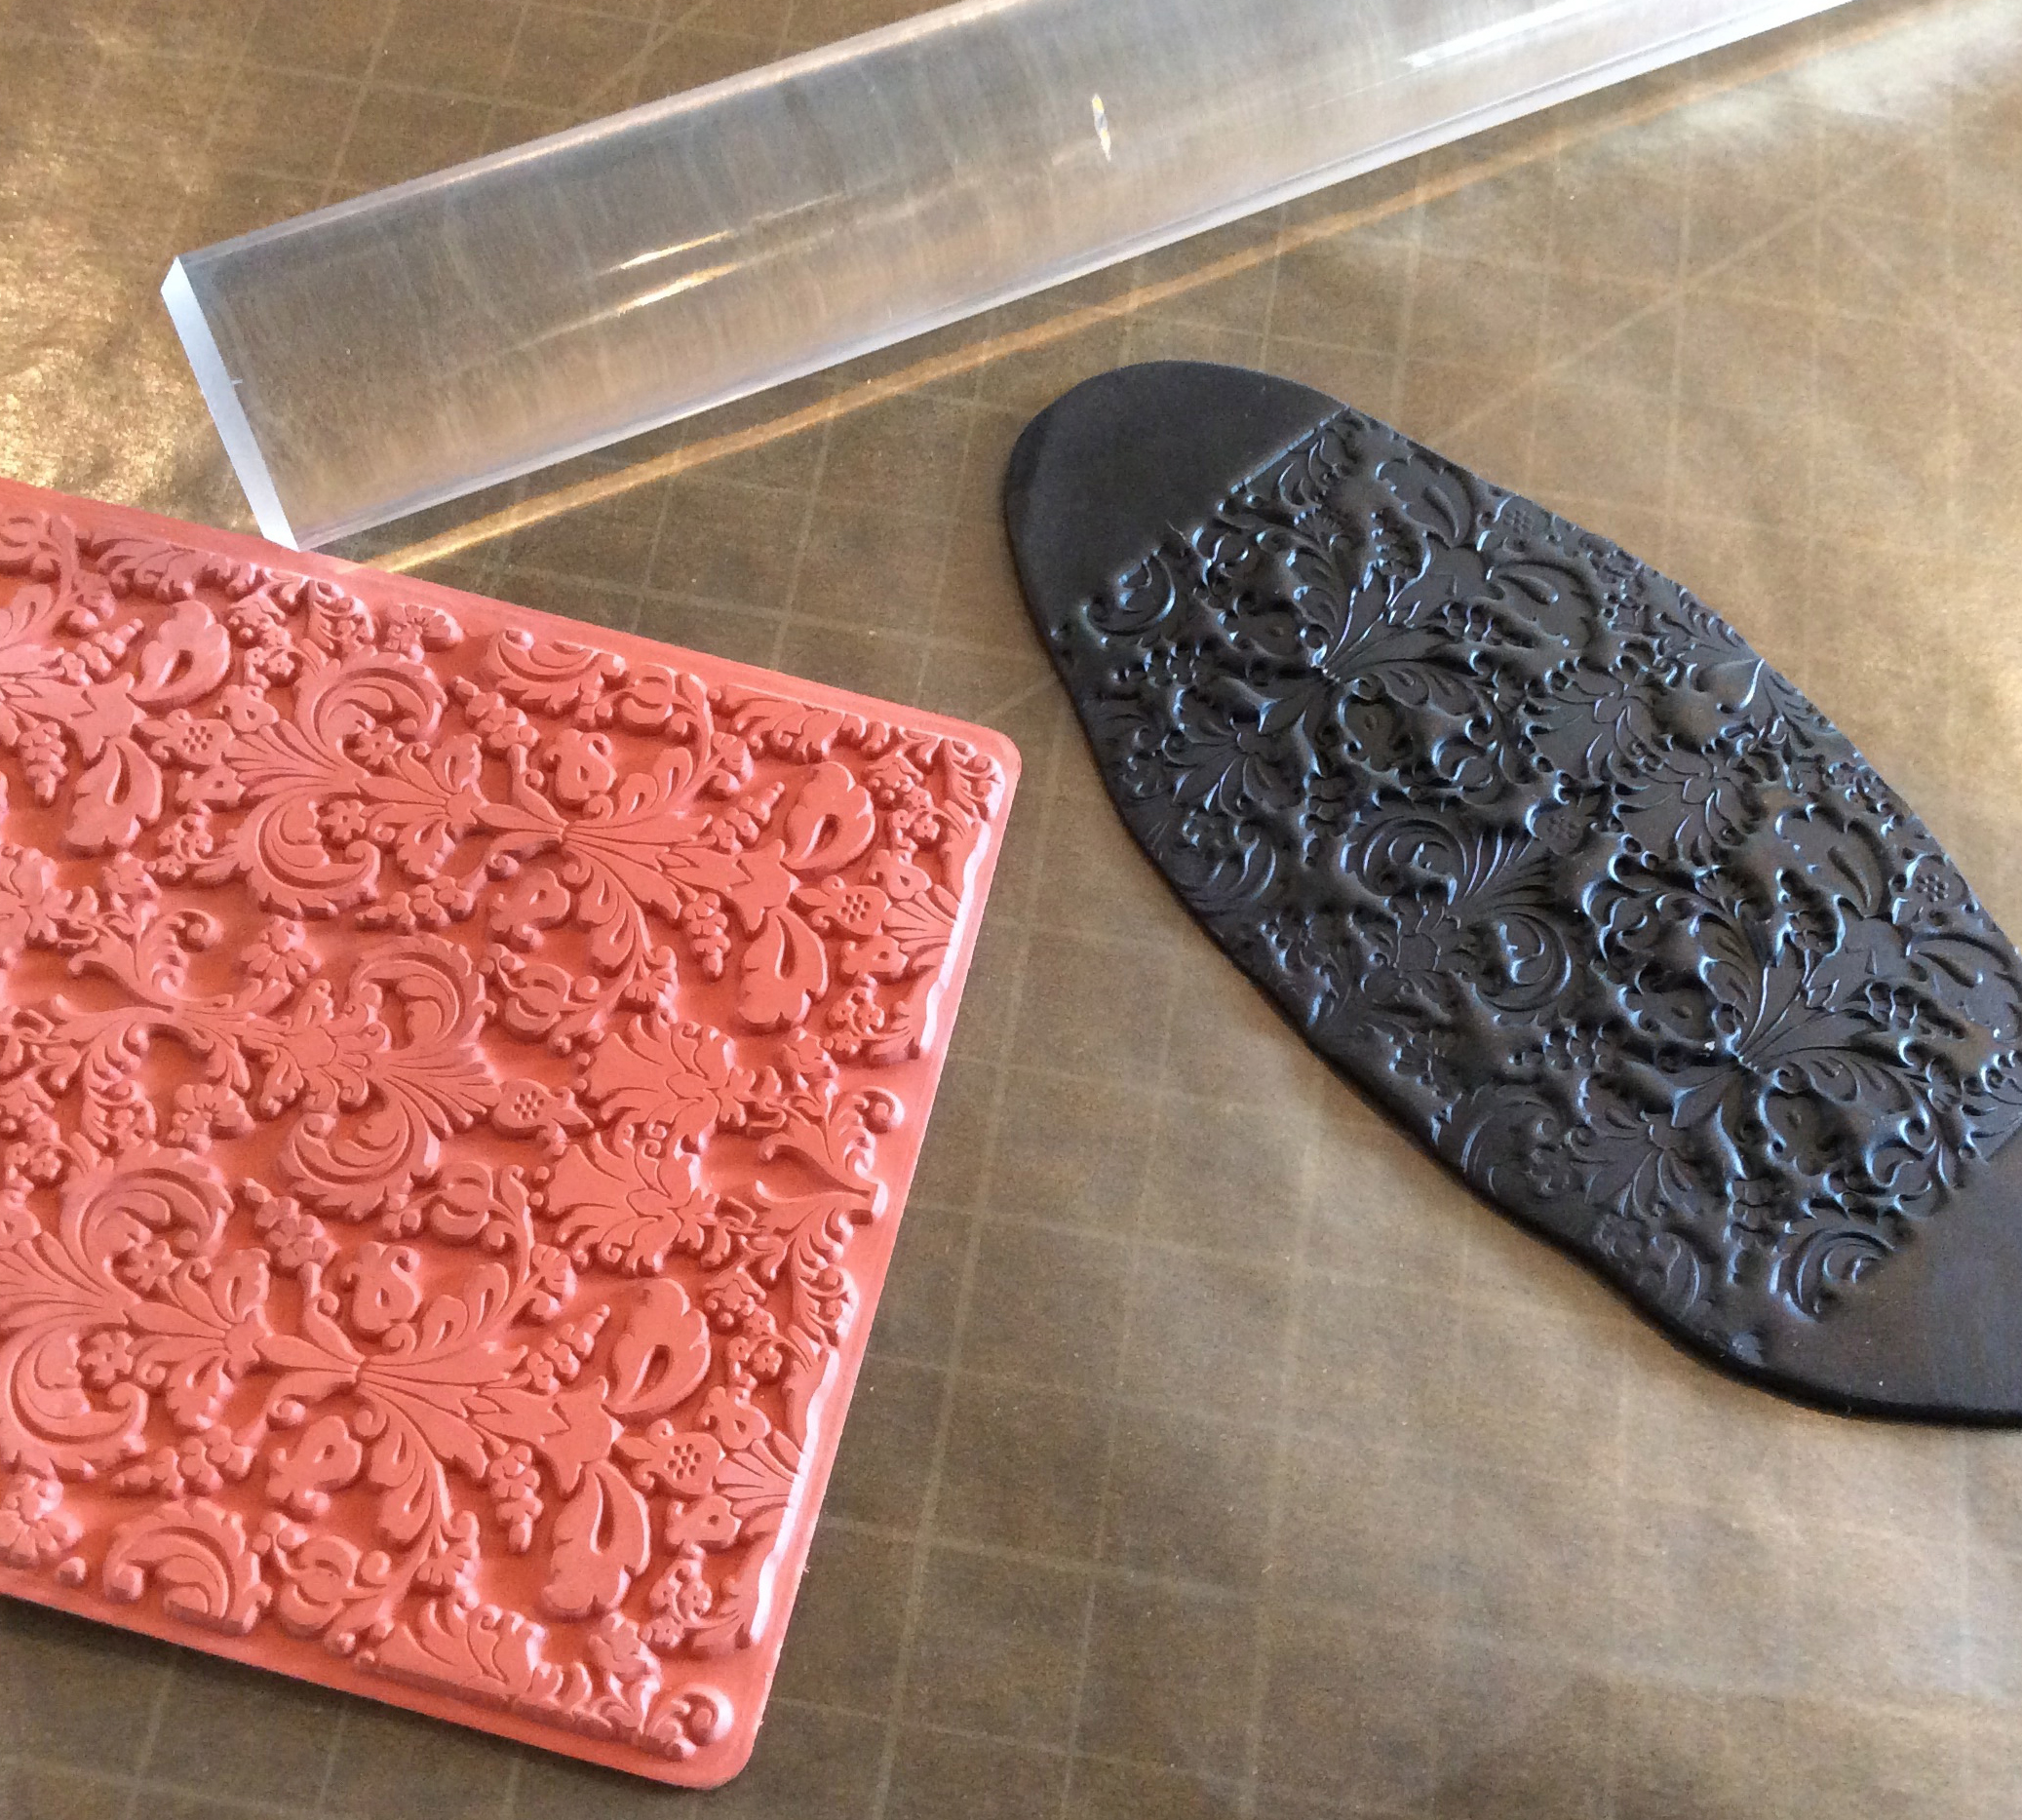
Patterning a rolled, flat piece of clay is intuitive… just press your texturing surface into the softened clay; in this case a rubber stamp. Duh.
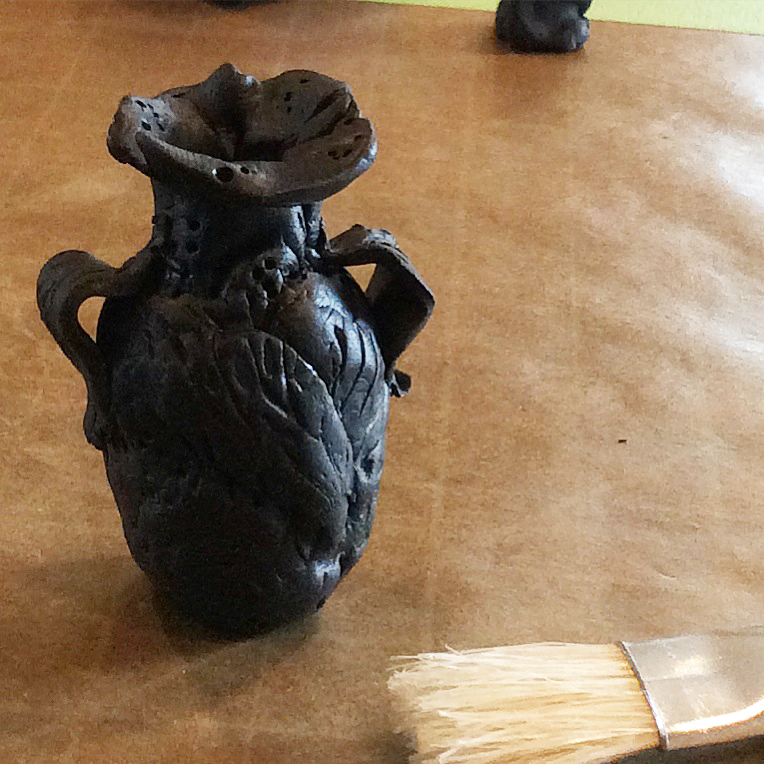
Applying this type of texture to a formed surface is a little tricky, requiring one to slice a thin piece of texture off and then apply to the vessel, or just start with a super thin piece to begin with so that it can be added without changing the overall shape of the piece. Above is a tiny vessel, unbaked, with texture applied in this way.
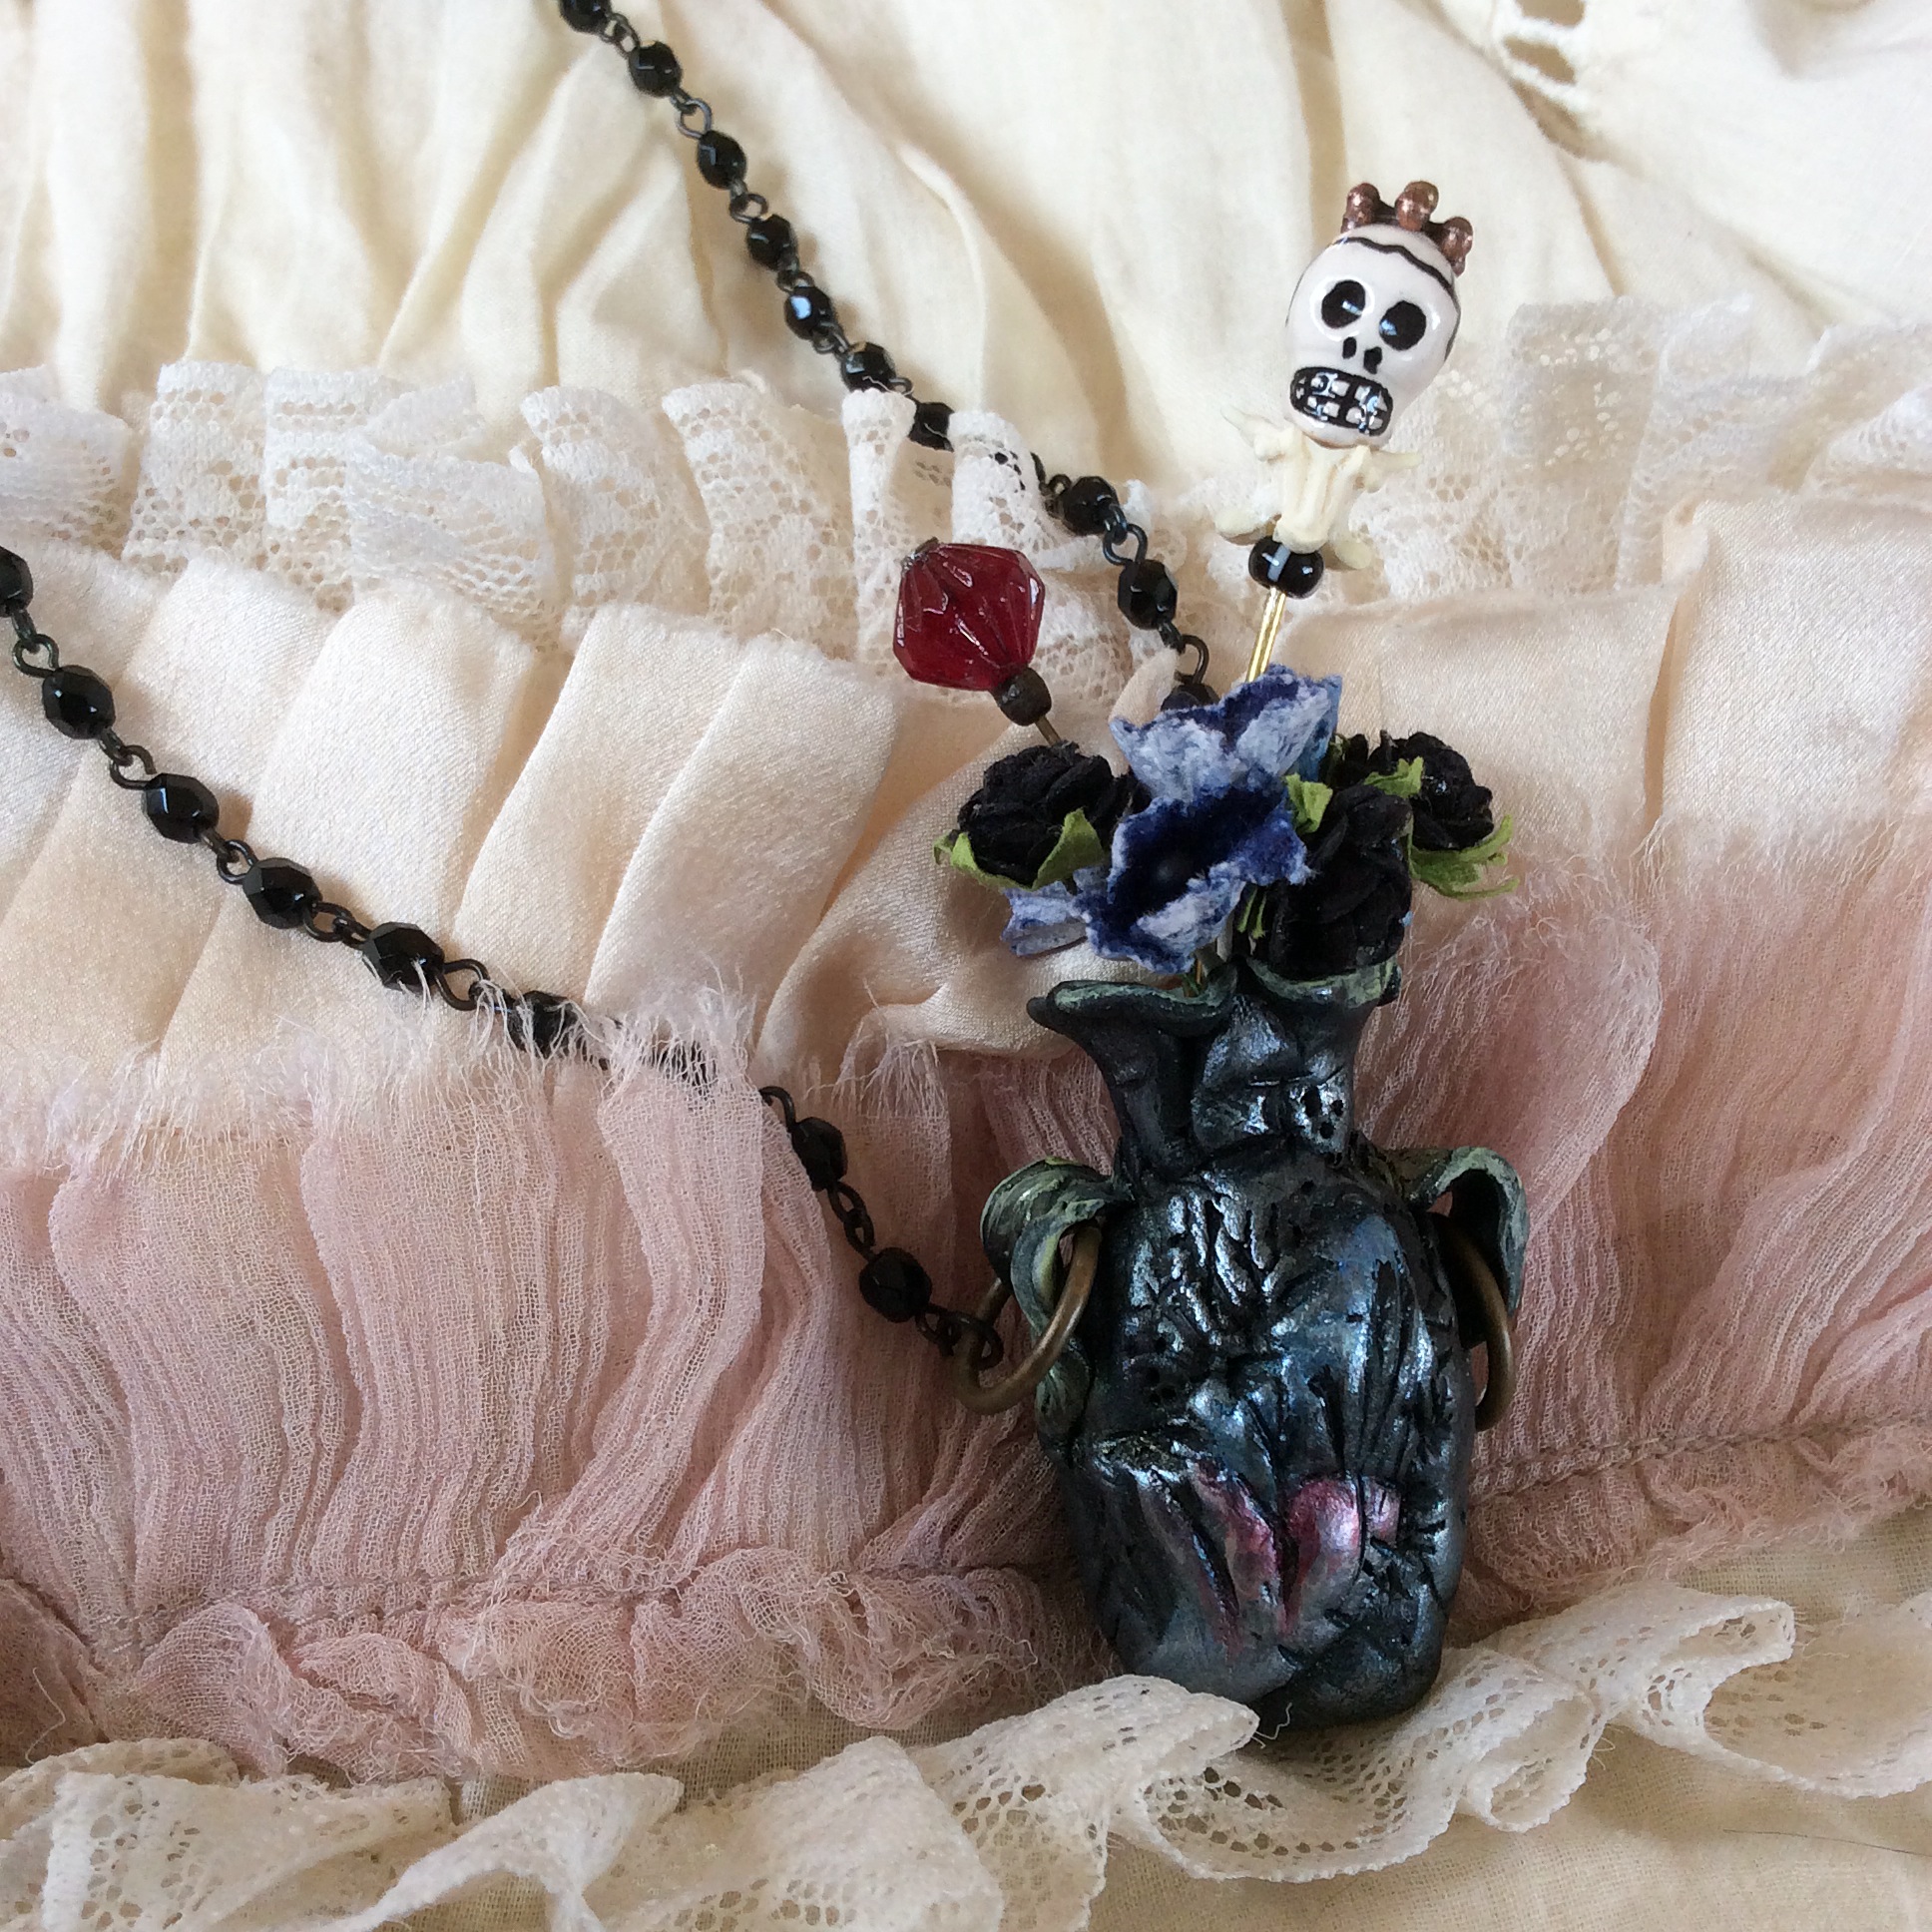
And here it is painted. I’m not 100% happy with the paint and decided that application with one’s finger will provide a better effect, leaving the indented parts of the texture paint-free. You can see a bit of a wing here, that piece was applied in the manner described above.
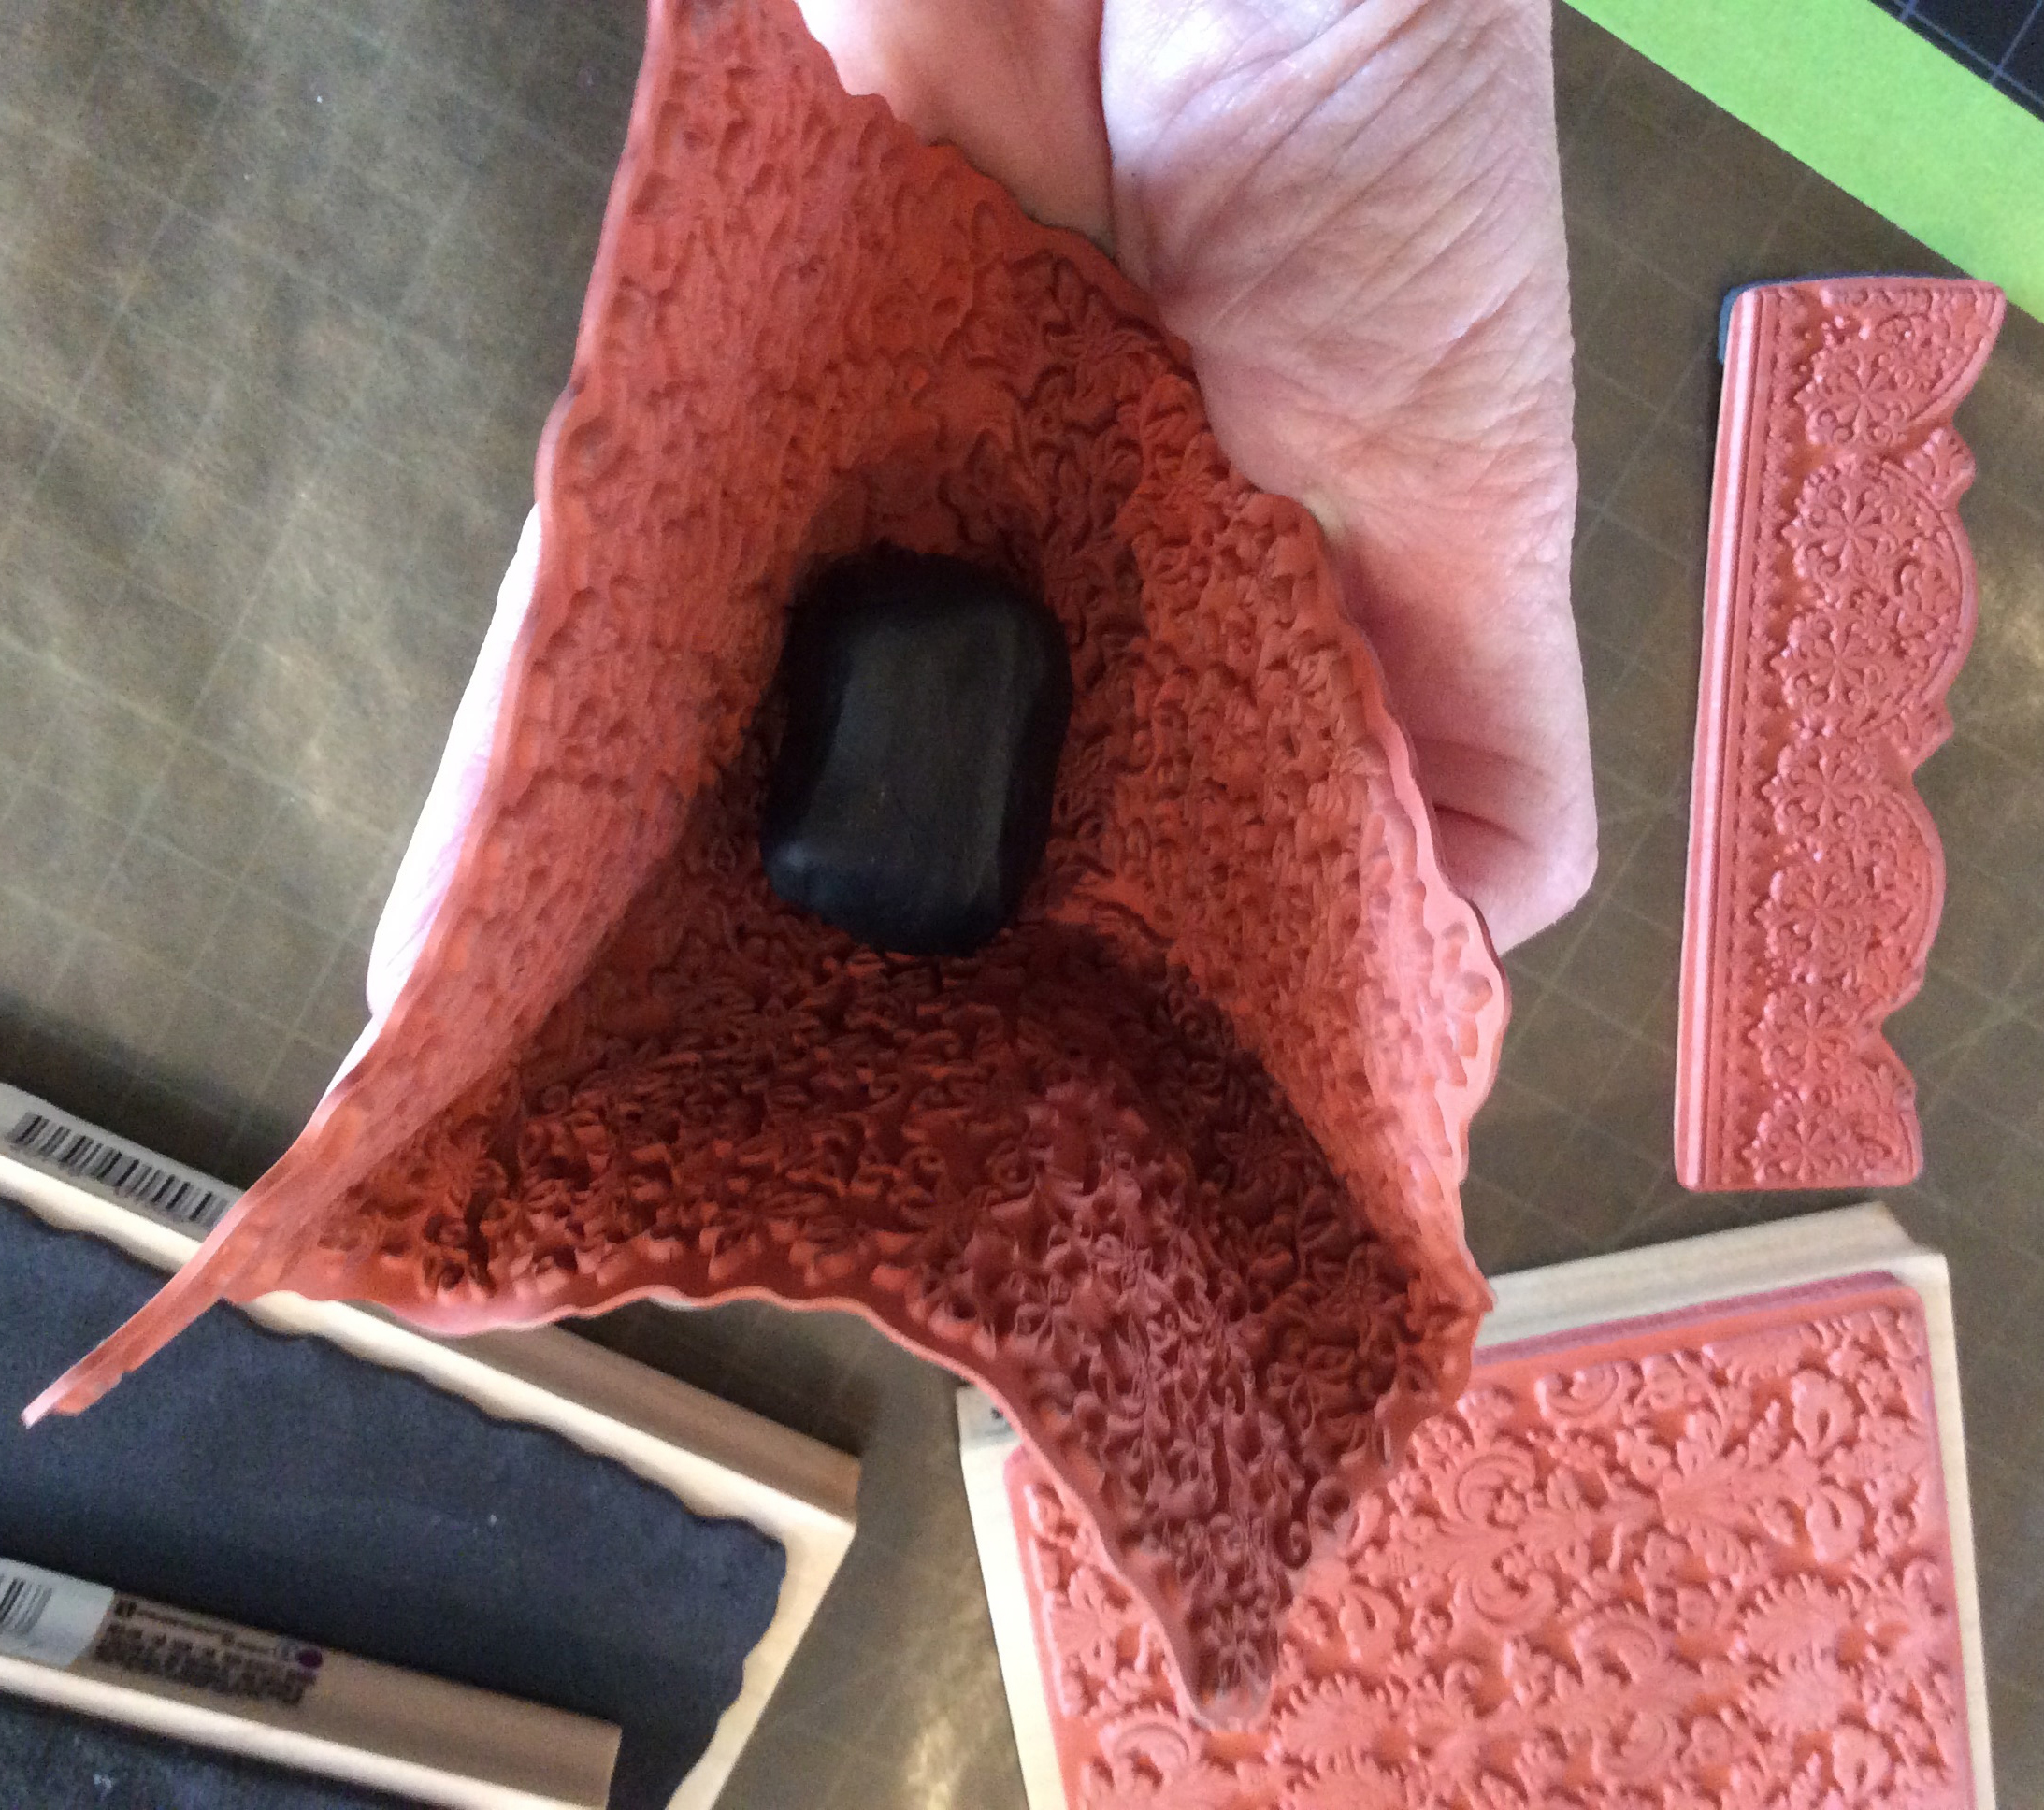
Less obvious, how to texture clay objects that are NOT flat. Here you can see that I pulled the rubber stamp off of its wood block and can now roll the ball of clay in the rubber, applying texture to all sides rather than just one. Once you’ve pulled the rubber stamp off the block, you can then texturize flat clay by rolling over it with your rolling pin.
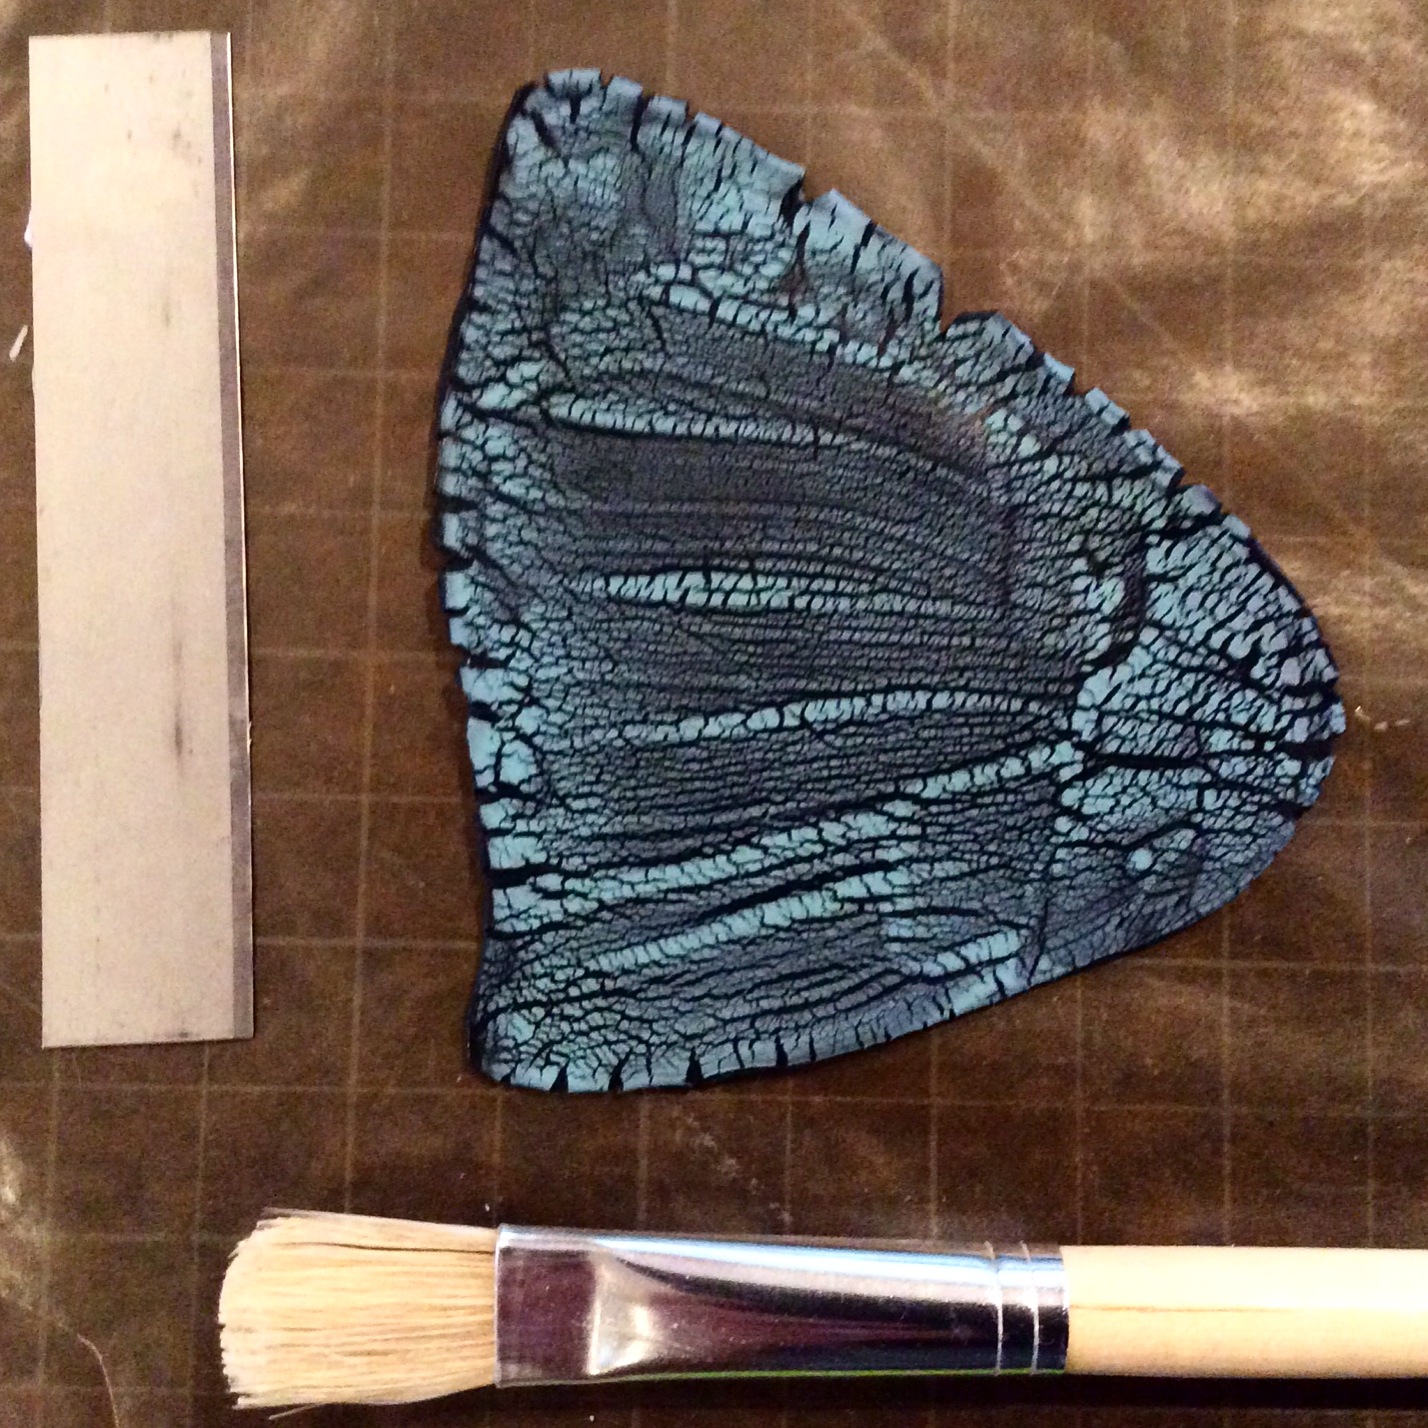
This is another surface treatment I learned called crackling or cracking. In fairness to the developer of the tutorial, I can’t legally share the info with you, but you can buy the tute here. What you are seeing above is a finished surface test that accidentally turned out to be this AMAZING butterfly wing. Complete accident! I didn’t see this until the crackle had finished happening. I don’t know what to do with this and will probably bake it as is and then try to think of something in which to incorporate it. It’s really just so gorgeous.
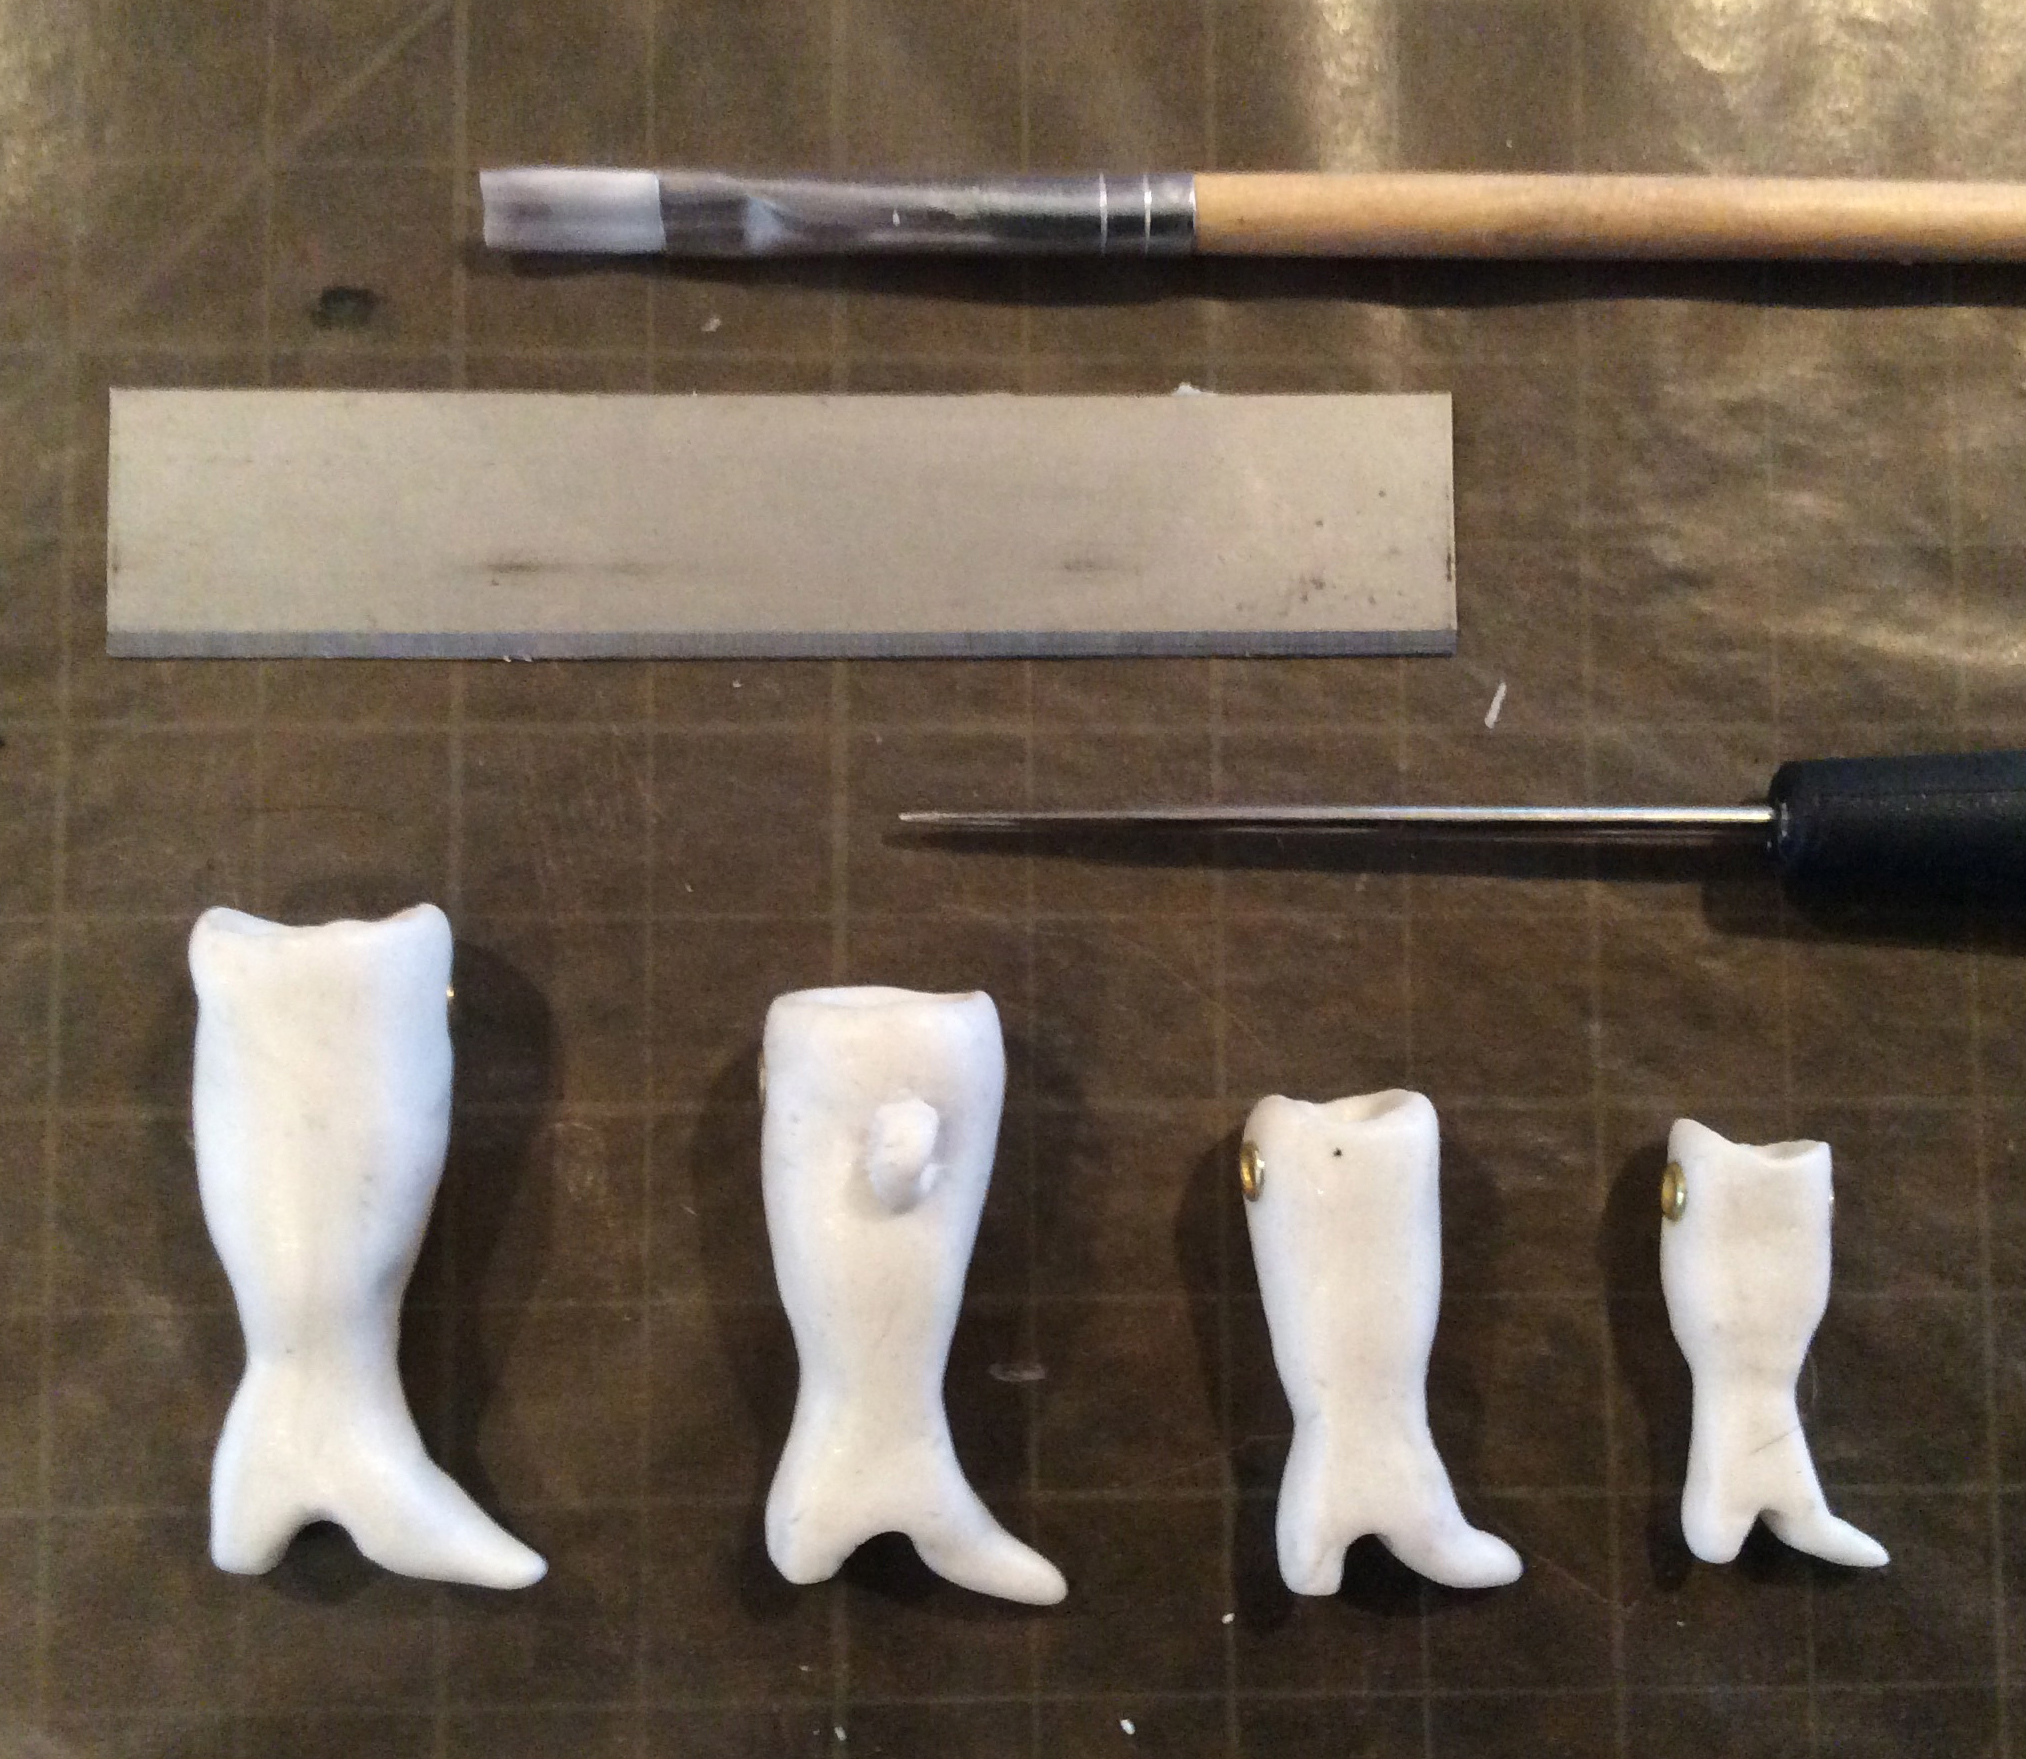
Here are little unbaked clay dolly boots in progress for necklace focals. I’m still loving the ones made from ancient German doll factory digs… the late 19th century pieces, but wanted to try to create my own in order to be more cost effective. And this is working out really nicely too. Making 4 at once gives me some economy of scale… all in an effort to be able to price the finished pieces in a way that makes them accessible to more people.

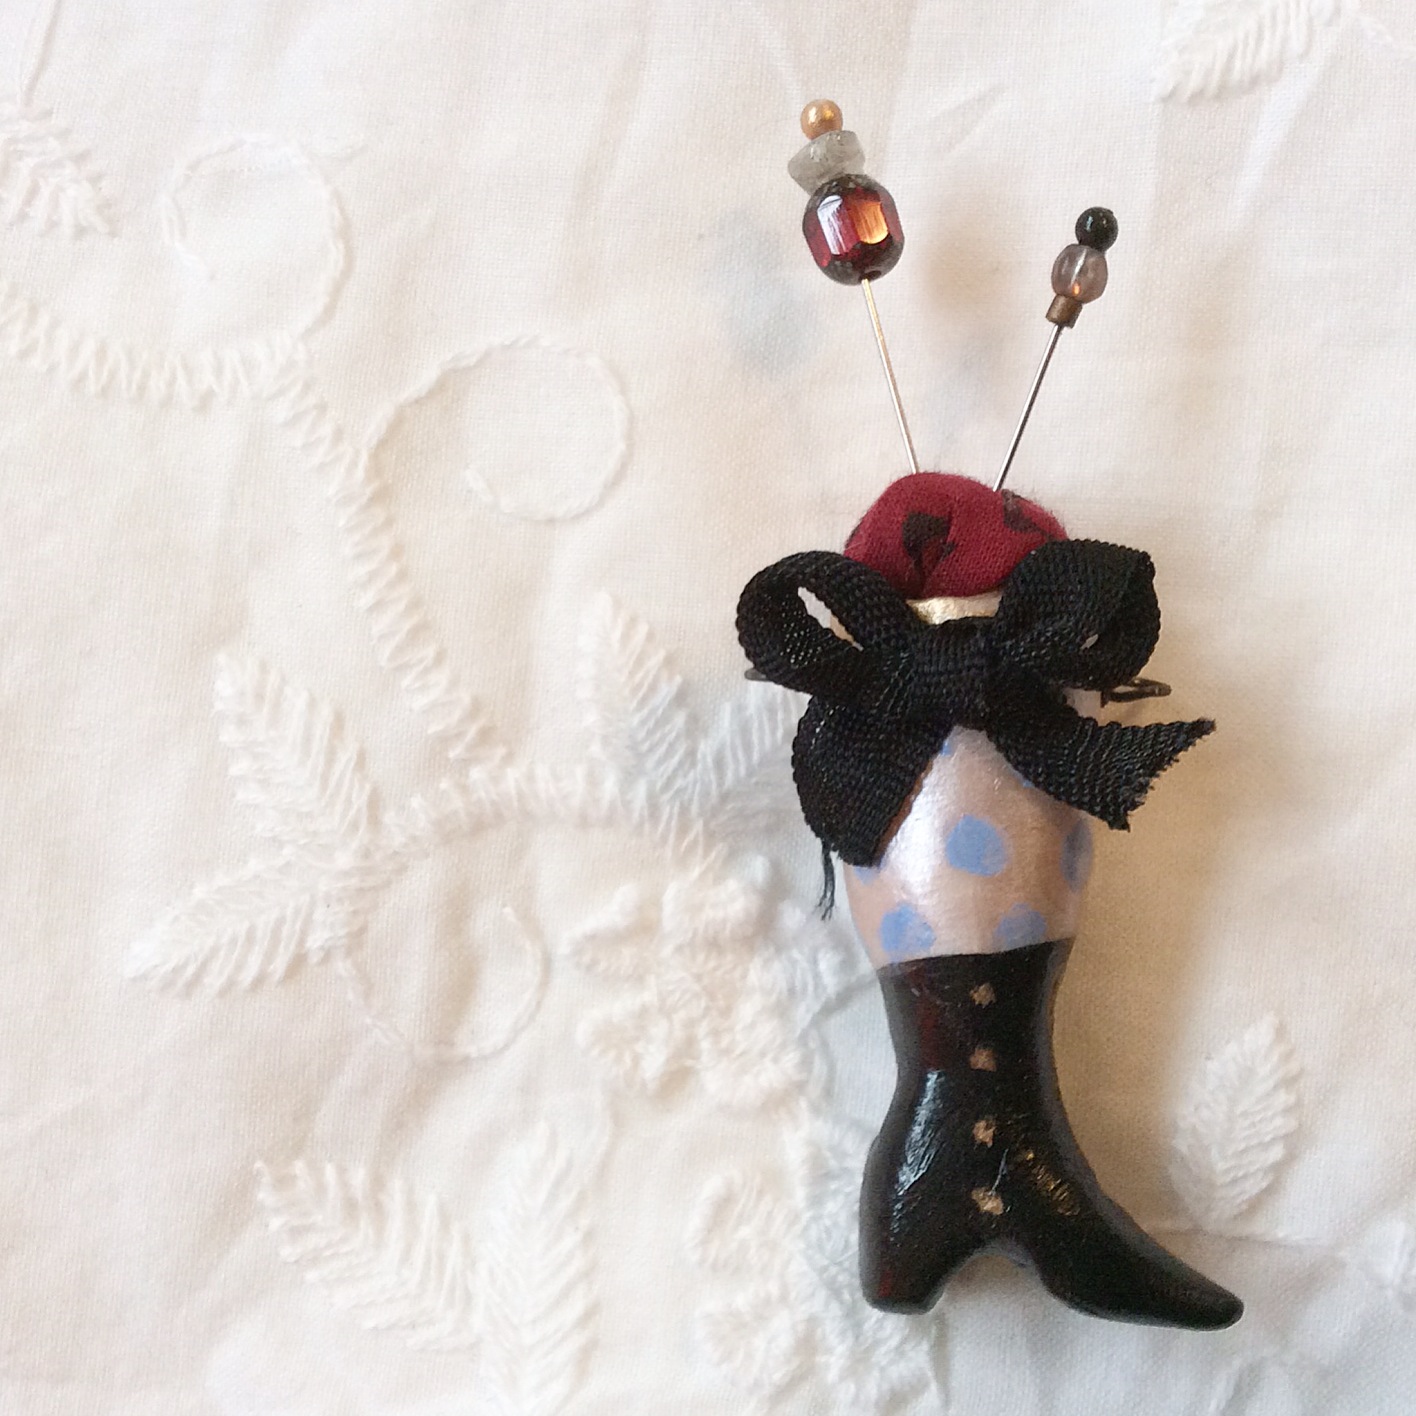
Above, they are finished baking and beginning the painting and embellishing phase. This is really fun too, but tedious as these are tiny. The smallest boot is about .75 inches tall, the largest is only 1.5 inches tall.
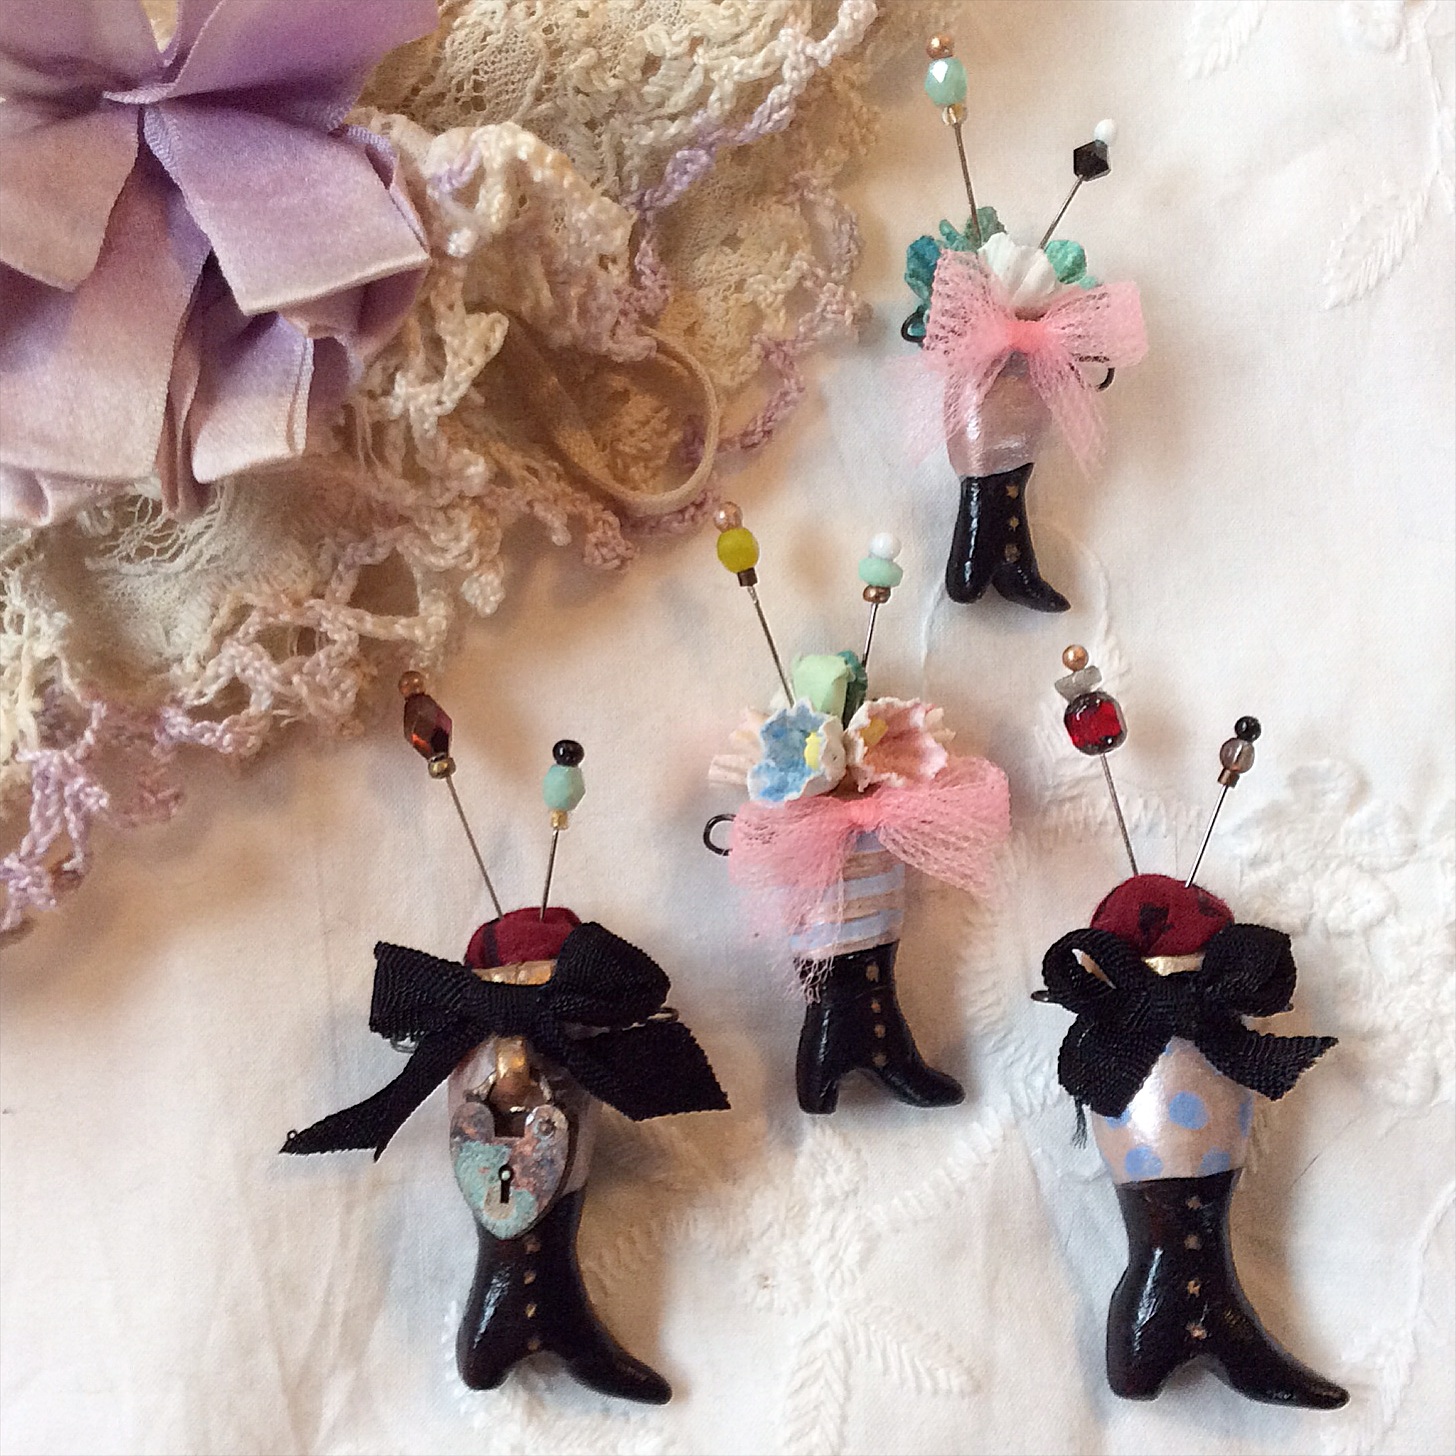
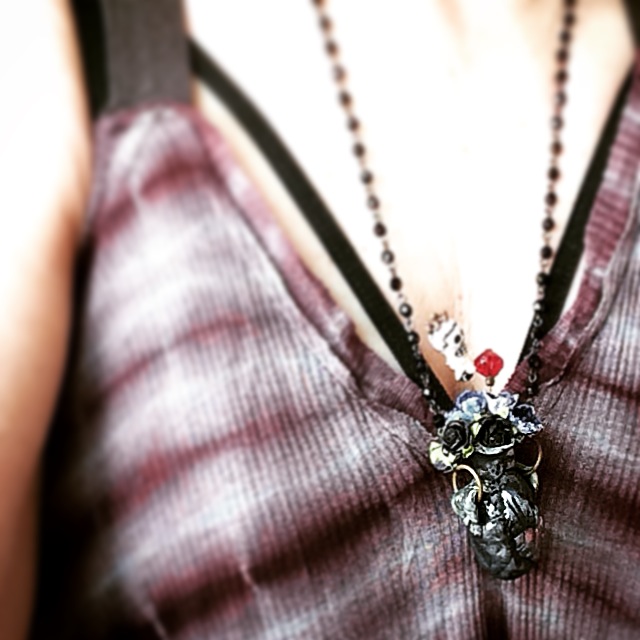
And… finished. Of course in order to sell them, I have to add necklace chain and then photograph again. I am planning to do another batch and then begin listing, but if you see one you want before I get all that done, just email me. The chains will be textured aged brass link, and the length you desire, from shorter, to be worn on flat part of upper chest, to much longer, below breast length. Some close-ups follow and please remember these tiny works of art are my own, so please be inspired but don’t copy.


To read a bunch of posts about clay processes click here.